Inhaltsverzeichnis
How to Properly Lock the Crankshaft with the Locking Screw
… and how this helps you avoid having to disassemble the engine
Foreword
More than once, I’ve had an engine on the “stretcher” that had to be completely disassembled after routine maintenance.
The reason was usually a bent locking pin in the crankcase that could no longer be unscrewed.
How does this happen?
During engine maintenance, we encounter the following maintenance item, which must be performed every 100 hours:

Normally, this test alone does not cause the locking pin to bend.
However, this can happen if the transmission is disassembled for the 1,000-hour inspection and the drive wheel is loosened. In that case, loosening or tightening the nut on the crankshaft applies such high forces (200 Nm when tightening) that the pin bends if it is not seated in the notch on the crankshaft journal.
If locking the crankshaft is necessary, I recommend watching the following video from rotaxowner.com carefully. It explains it perfectly:
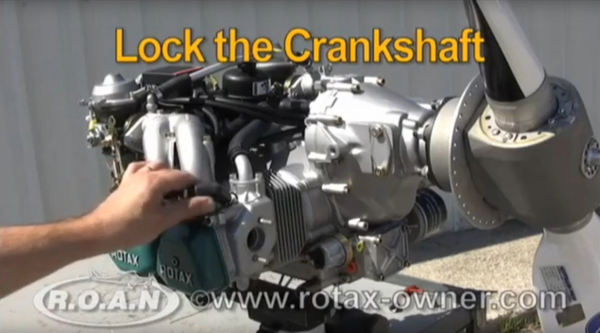
Why does the engine need to be disassembled?
If the locking pin is not screwed properly into the notch in the crank arm, it may protrude into the engine housing next to the crank arm when loosening or tightening the drive wheel nut. Since the distance between the end of the thread in the crankshaft housing’s locking pin hole and the crank arm is greater in this case than when the pin is properly seated in the crank arm’s notch, the lever arm is longer. This can cause the end of the locking pin to bend inside the crankcase.
If you try to unscrew the pin now, it will turn a few more threads before it stops.
At this point, the only way to remove the locking pin is to unscrew it toward the crankcase. This is usually only possible if you disassemble the engine and separate the two halves of the crankcase.
This image clearly shows how the locking pin should be seated. 
A Tip
There is no specified tightening torque for the locking pin.
I recommend tightening it to about 12 Nm – 15 Nm. You could also say hand-tight.
If you think the locking pin is seated correctly, there’s another good way to check.
Unscrew the locking pin another 1/2 to 3/4 turns. Now place a finger on the locking pin and turn the propeller back and forth as far as it will go.
Of course, it should lock in both directions again after moving just a very small angle.
At the same time, you should be able to feel with your finger that the locking pin moves back and forth slightly when the notch in the crankcase strikes the pin.
If this is the case, tighten it hand-tight and you can now safely do what you set out to do.
... what to do?
…. if the locking pin is bent after all?
To avoid causing even greater damage, anyone would probably remove the engine and send it to a distributor.
This is essentially the only option, since Rotax prohibits anyone other than a distributor or an authorized overhaul facility from disassembling the crankcase.
The Last Attempt
It starts with successfully screwing the locking pin all the way in so that it has now ended up inside the crankcase.
With the engine still installed, you can now remove the cylinder head and cylinder #1.
Now take a magnetic retriever and fish for the culprit in the crankcase, passing by the piston.
Once you’ve done that, you’re in the clear and can reinstall the cylinder and the head…
Conclusion
If you're not sure whether the locking pin is seated correctly, it's better to unscrew it and let someone who is sure do it.
